Advertising online is a great way to bring in new, highly-targeted customers. But it’s not just about Google – it’s biggest rival, Microsoft, has lots of opportunities to help you achieve a bigger ROI.
There are tons of advantages of running ads on platforms other than Google. For instance, did you know 54% of Bing users are over the age of 45? Also, over a third of them have household incomes of over $100,000. This means if your business appeals to an older demographic, you’re likely to find customers who have a lot more money to spend by running Microsoft Ads.
This is just one of many benefits of utilising this undervalued platform. Others include:
- Cheaper cost-per-clicks
- Less competition
- Huge opportunities for niche industries
To help you make the most of these, I’ve put together a step-by-step guide on how to get set up on Microsoft Ads. Whether you’re starting from scratch or have a Google account you’d like to import, find all the info right here. Let’s get started.
If you already have a Google Ads account…
Importing your Google Ads data into Microsoft is really easy. I recommend doing this if you have existing campaigns as it will save you a lot of time and effort. All you then have to do is tweak your ads to fit your Microsoft goals, and watch out for any import errors.
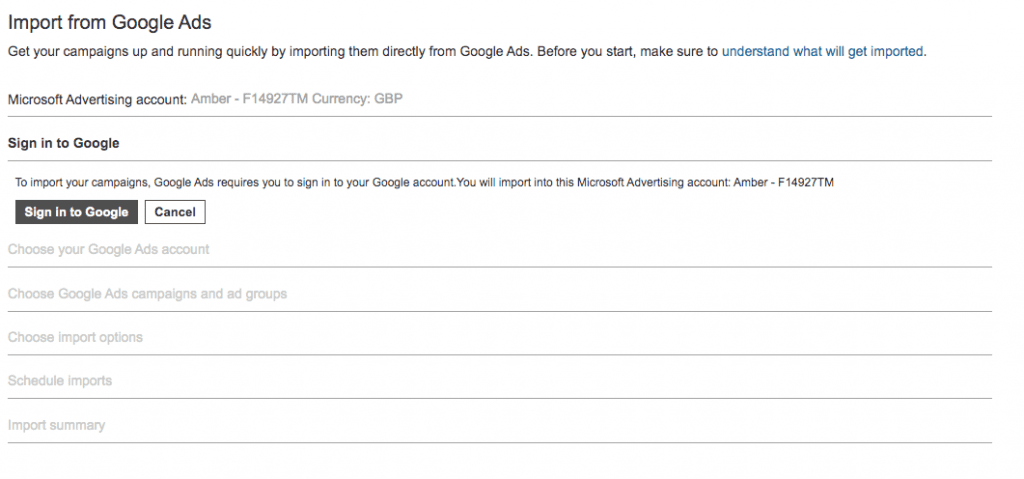
To import your Google account:
- Click ‘import campaigns’
- Select ‘import from Google Ads’
- Sign in to your Google Ads account
- Choose whether you want to import all of your campaigns or just some
- Select which info you’d like to import
- Click ‘import’
- Set a schedule for how often your data syncs – either daily, weekly or monthly
- Click ‘import’
And you’re done!
It’s important to check out the review summary after you import is complete to ensure there’s nothing missing. Here’s how to do that.
Things to be aware of when importing your Google Ads to Microsoft
To save yourself any hassle further down the line, here are some of the common pitfalls to avoid:
1. Microsoft Ads works slightly differently to Google Ads on these things:
- Bids and budgets
- Language targeting
- Location targeting
- It doesn’t use broad match negative keywords
When you import your data, Microsoft Ads will automatically set things to their closest version of that setting. But it’s worth double-checking you’re happy with everything.
2. Not everything can be imported, but it can be recreated
If you notice anything missing, you can probably do it inside Microsoft Ads it just may have not been possible to import it due to restrictions.
3. Check up on your import errors
If there have been any problems, Microsoft will tell you in the import error log, so make sure you have a look at it in Settings.
Top tip: Spend some time fine-tuning your bids and budgets to fit your Microsoft Ads strategy. To get the best from your campaigns, ensure they’re making the most of the Bing-specific advantages, such as cheaper CPCs.
How to set up Microsoft Ads from scratch
If you’re new to online advertising and need to set up an account, it’s as simple as this:
- Create an account: use your email address to create an account, or sign in to an existing Microsoft one.
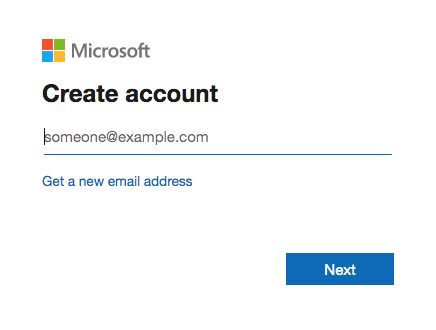
- Start a new campaign: If you don’t have a Google account to import, choose ‘create new campaign’.

- Choose your goal
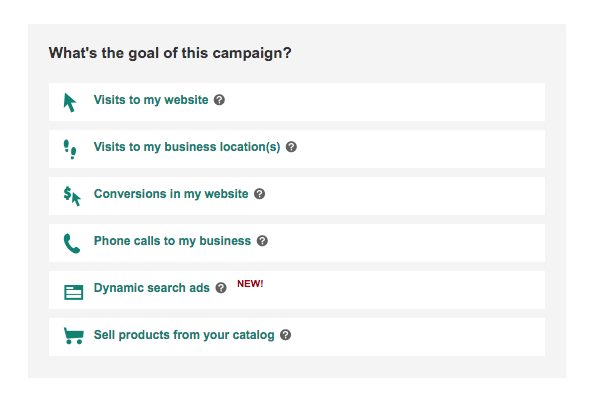
Decide what the goal of the campaign is. Options include:
- Website visits
- Physical store visits
- Conversions
- Phone calls
It’s important to set the right objective at the start of your campaign so that Microsoft Ads knows what you’re trying to achieve.
- Set the basic campaign settings
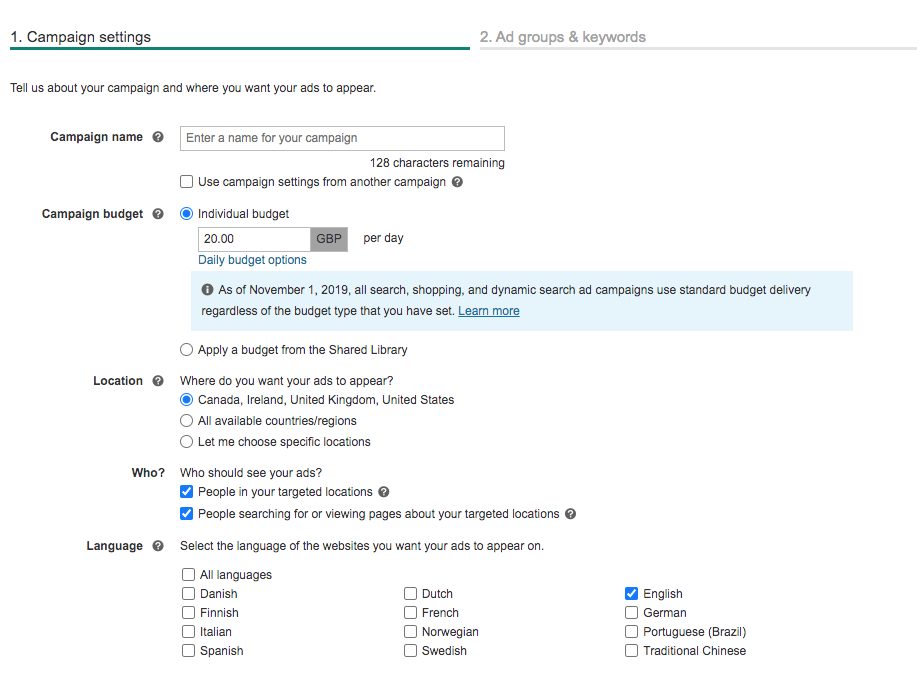
Enter all the basic info that you’re asked for. This includes your campaign name, budget, location and languages.
Top tip: Name your campaigns something that will help you to know exactly what it is later down the line when you have loads. Go for ‘Leather sofa 18-25FUK’ right than ‘sofas’.
- Create your ad groups
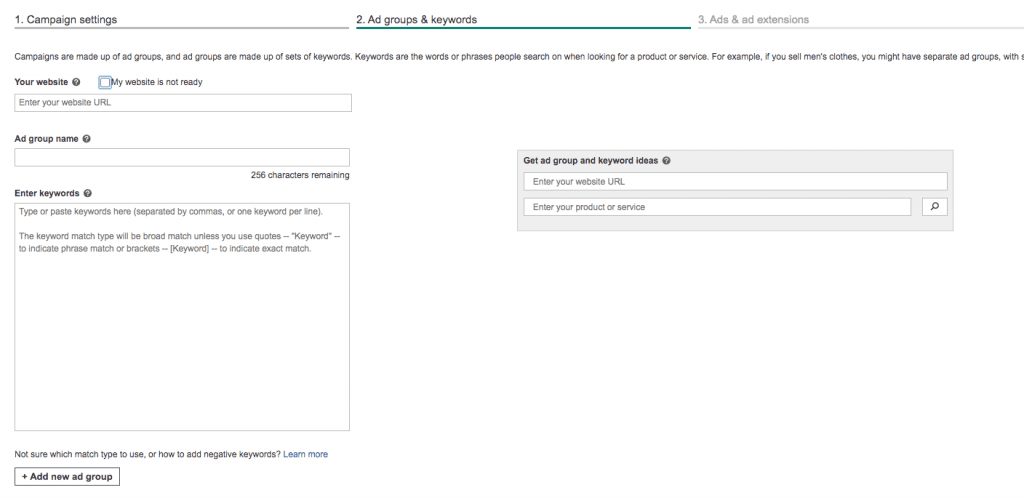
Choose your ad groups and keywords. Each ad group should focus on a theme to ensure the keywords inside that group are highly-focused. For example, if Bert’s Bakery was running a campaign, they might have a separate ad group for each of your popular items:
| Ad group themes | Ad group keywords |
|---|---|
| Pies | Beef pies, chicken pies, fresh pies |
| Cakes | Victoria sponge cakes, fresh cakes, luxury baked goods |
| Sandwiches | Handmade sandwiches, fresh sandwiches made daily |
This will allow you to focus things a lot easier than if all your keywords are in one group. It also enables you to tweak keywords depending on how well they perform.
Top tip: If you’re more experienced, try implementing a SKAG (single keyword ad group) into your strategy based on your top performer. This will allow you to really get the maximum amount of clicks for that keyword.
- Add ad extensions
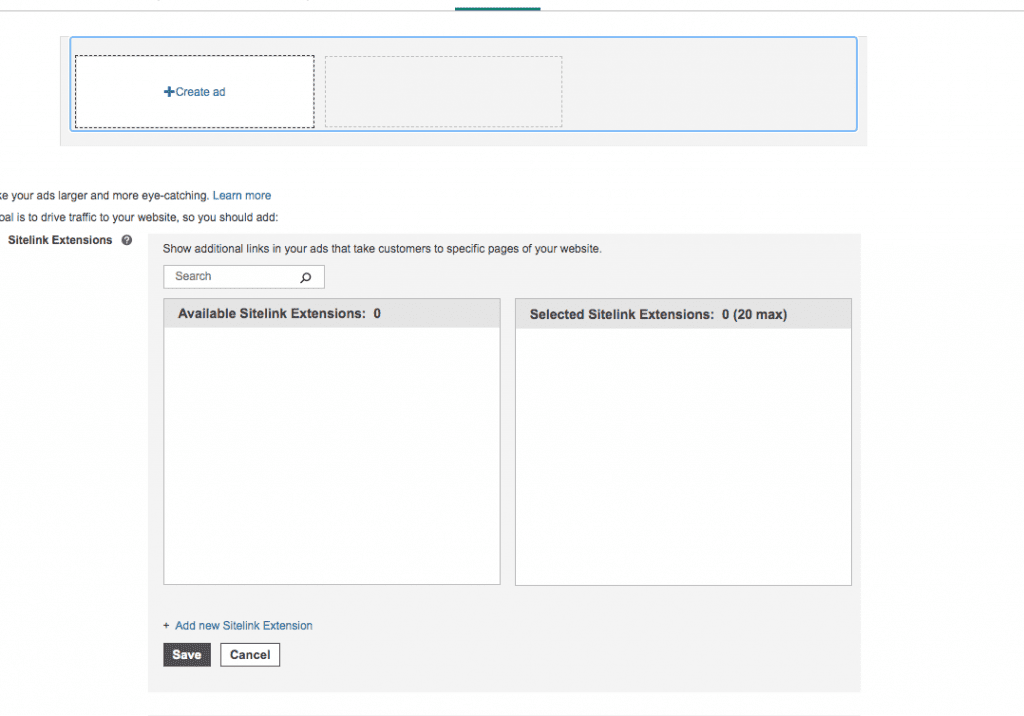
Ad extensions are a great way of giving your customers more information about your business. Select the best ones for your ads here including:
- Sitelink extensions
- Action extensions
- Callout extensions
- Price extensions
- Structured snippet extensions
- Review extensions
- Call extensions
- Location extensions
- Set your budget
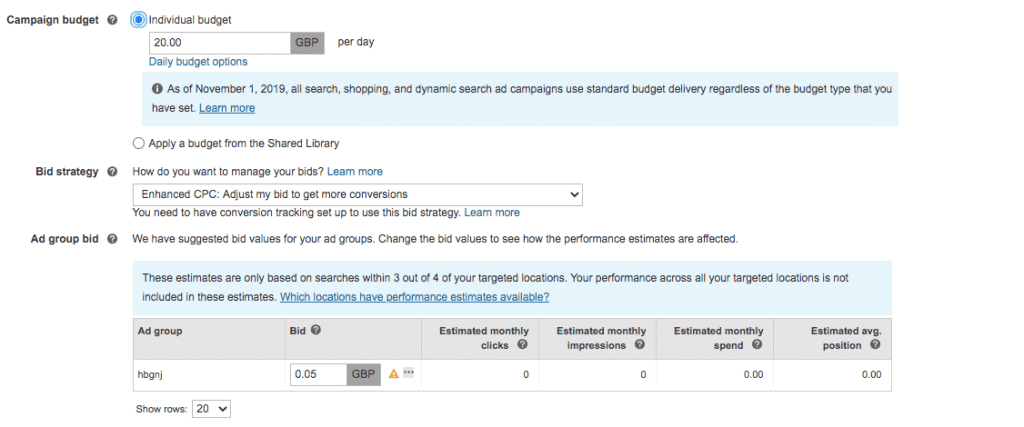
Then, set your budget and ad group bids. If you’re unsure of what your budget should be, start small and then after you’ve gathered some data, you’ll be able to make more informed decisions.
- Enter your payment details
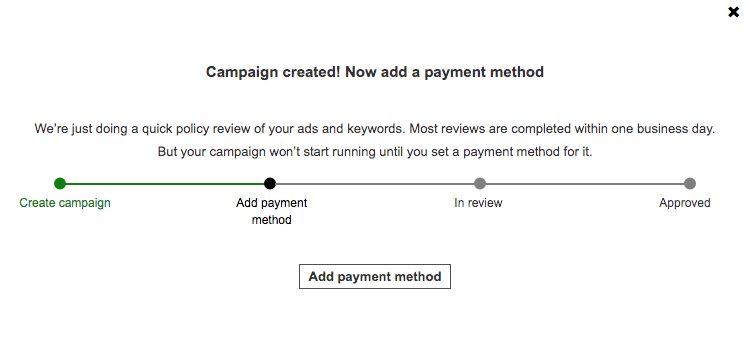
Now you’ve successfully created your campaign, all that’s left to do is add your card details. Once you’ve got your payment method set up, your ads will go into review. If they abide by Microsoft’s rules, they’ll be approved and put live.
Get $125 ad spend for $25
Take advantage of this great offer if you’re a new customer and just getting started. We’ve come together with Microsoft to offer you $125 in ad credits when you spend $25 on Microsoft Advertising. So, your new Microsoft campaigns will go just a little bit further. More customers for free, what’s not to love? Claim your coupon here – and be quick, there are only a limited amount of coupons to go round!
And there you have it!
That’s all the basics of setting up a Microsoft Ads account covered. You’ll soon see your new customers come pouring in. Once you’ve got to that stage, be sure to optimise your campaigns the easy way with Adzooma. Our platform is designed to make managing your Google, Microsoft and Facebook Ads a dream. The best bit – it’s entirely free.
If you’re looking for other articles on Microsoft Ads, here are a couple to start off with:

